How to Install Made to Measure Balustrade Wire Railing
A simple guide to installing our made to measure wire balustrade
What tools do I need to install?
Very few tools are required, the following list should cover most eventualities.

**Video Update** Cables are now designed for runs of up to 12.5 metres.
Video: Installation guide for flat mount made to measure balustrade wire.
How to install the made to measure flat mount balustrade wire system.
Prepare the surface
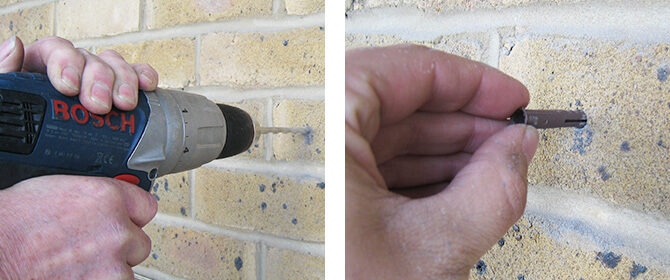
Measure out carefully ensuring that the sockets will be situated evenly on the surface. With timber it is advisable to drill a pilot hole prior to fixing. Masonry surfaces should be drilled and a plastic plug inserted for additional strength.
Mount the sockets
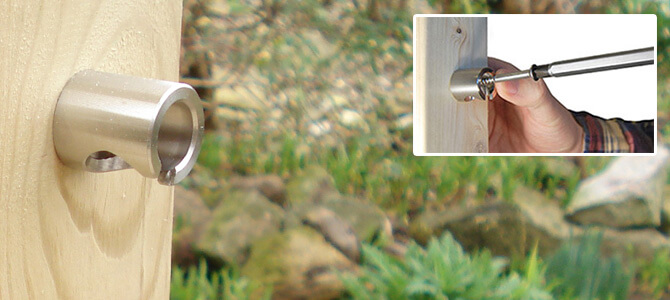
Once you have prepared the mounting point simply bring the socket to the surface and pass the stainless steel wood screw through the centre of the socket and screw tight with a No.3 Posidrive screwdriver.
Attaching the cables
With the sockets in place simply clip the ball end into the socket.
Running cable rail through intermediate posts
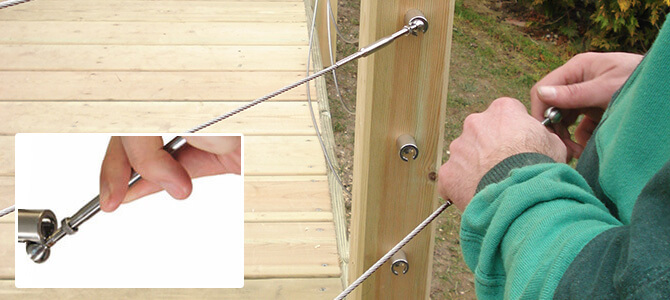
The smaller, fixed end, of the wire assembly features a detachable ball. Once removed it reveals the slimmest part of the cable for passing through any intermediate posts.
The diameter of this fitting is 7mm - so you will need clearance holes of just over 7mm.

Adding tension to the cable railing wires
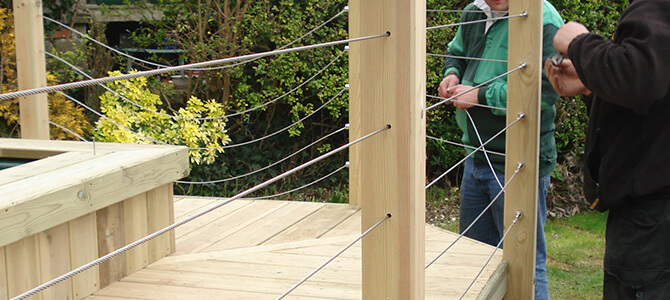
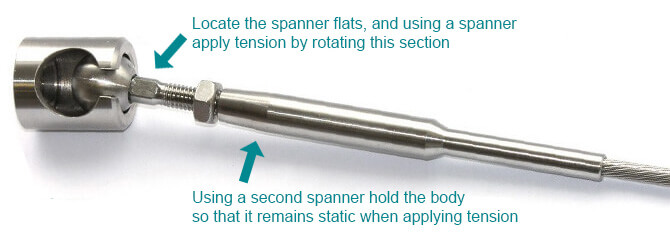
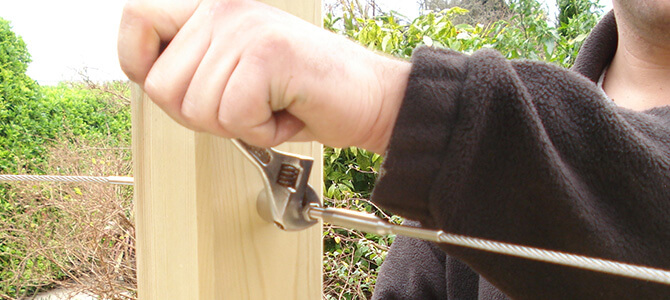
With the cables loosely in place at each socket, take one spanner and locate the spanner flats of the threaded fitting. Use the other spanner to hold the body and stop it, and the wire, rotating.
Twist the threaded part of the fitting to add tension.
Once tightened to sufficient tension, bring the lock nut up to the shoulder of the body.
How much tension should I apply to the deck cables?
There is no fixed rule here as there are many variables at play.
You are applying the tension by hand and can see and feel the results.
Take your time applying tension and keep an eye on what is happening. Keep going until you are happy with the tension.

