Swageless Ball End Tensioner - Wire Rope Fitting
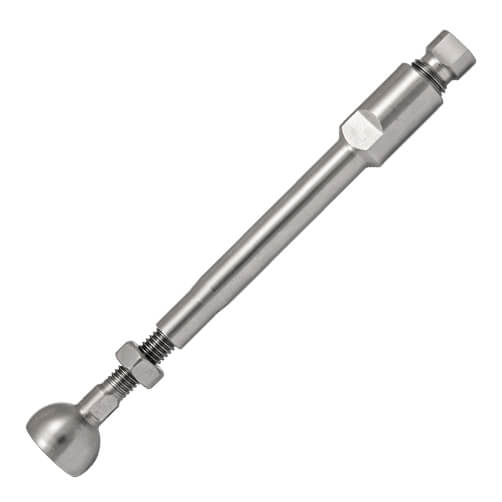
Wire Balustrade Swageless Ball End Tensioner for 4mm Diameter 7x7 Cable
Easy adjust ball end tensioner for stainless steel wire rope, uses a simple compression design to hold wire rope securely in place, manufactured from 316 grade stainless steel.
Swageless Ball End Tensioner - Wire Rope Fitting
| Options | Wire Ø (mm) |
Grade | Adjustment (mm) |
Quantity | Code | Price (inc VAT) | Quantity |
|---|---|---|---|---|---|---|---|
| Ball End Tensioner | 4 | 316 | +/- 20 | 1 | CSBT-040 | £16.26 |
Tip: To view the product code and full product table on mobile please tilt your device to landscape.
Key Features
 |
316 grade stainless steel. |
 |
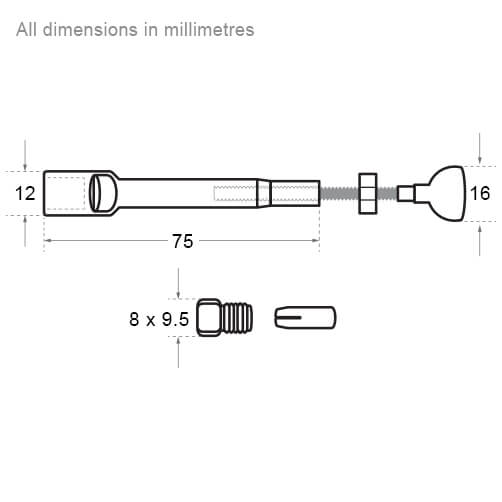
To fit 4mm 7x7 stainless steel wire rope. |
 |
Wrench/spanner set required for installation. |
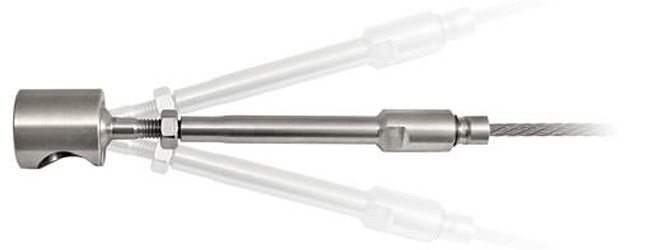
Swageless ball end fitting with adjustable threaded arm to allow for precise tensioning of balustrade wire rope infill.
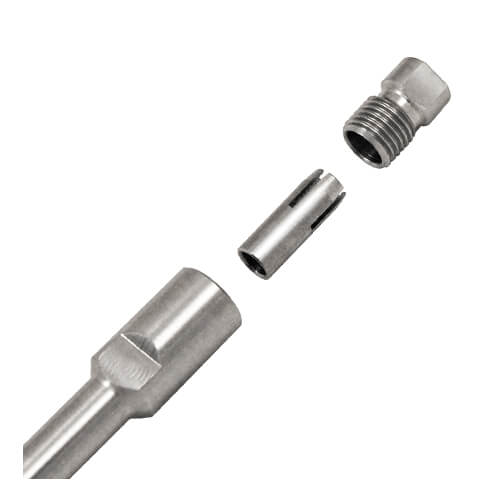
Ingenious compression design allows for a quick and easy installation with a few household tools.
Simple adjustment of +/- 20mm is made by screwing the arm in or out and can be locked in place with the lock nut.

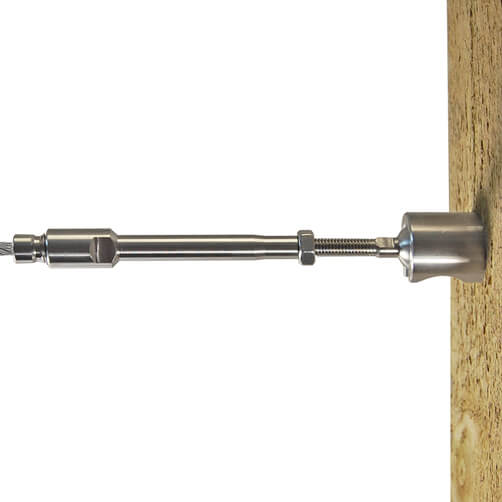
Sits inside our ball end socket to provide a secure termination for balustrade wire infill.
Ball and socket design allows for 42 degree wire articulation on inclines and stairways.
All component parts are manufactured from marine grade stainless steel, suitable for both indoor and outdoor use.
You may be interested in...
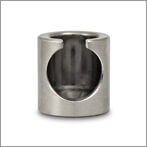
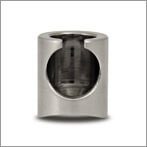
Ball End Socket - Flat Mount for wire balustrade.
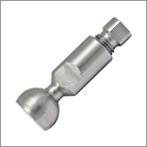
Ball End Socket - Tube Mount for wire balustrade.
Swageless Ball End Fitting for stainless steel wire rope.
Installation Advice
Before fitting the swageless ball end tensioner we recommend installing the fixed ball end fitting on to the opposite end of your wire rope, and the mounting sockets on to the posts (Fixed ball end and mounting sockets available separately). This will enable you to calculate the length of wire rope required before cutting.
Simply view or download our installation advice below.
Swageless Ball End Tensioner Installation
1. Prepare Ball End Tensioner
Screw out the ball end to reveal approximately 20mm of thread, you will need this to apply your final wire tension once installed.

2. Mark Wire for Cutting
Insert ball end tensioner in to its mounting socket and pull the attached wire rope over from the other fixing post and align to the spanner flat of the DIY compression fitting.
Mark your wire ready for cutting with either a pen or chalk.
Note: The stand off from the mounting hub is 93mm when fully engaged.


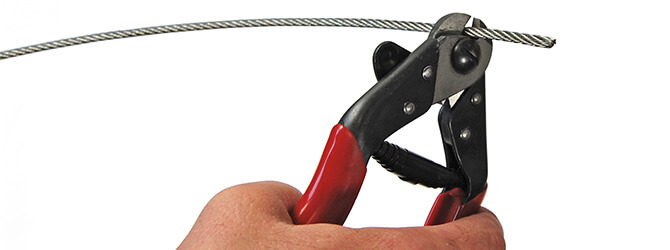
3. Cut Wire
Cut your wire to required length, we recommend using a set of good wire rope cutters to give you a neat and tidy cut.
Remember - measure twice, cut once! Please be as accurate as possible.
Each cable will have an adjustment of plus or minus 20mm.
4. DIY Compression Fitting
The first step is to take apart your ball end tensioner compression fitting, by simply unscrewing the nose piece to reveal the inner cone.

5. Thread Nose Piece onto Wire
Taking the blank cable end place the nose piece over the stainless steel wire rope (ensuring the thread end is facing the end of your wire).

6. Thread Cone onto Wire
Thread the cone onto the wire and push into the threaded nose piece.

7. Place Ball End onto Wire
Take the stainless steel body and push onto the wire, bringing the three component parts together.
Turn in opposite directions to thread them together.

8. Secure Ball End Fitting
Using a pair of 8mm and 9mm spanners screw the two sections together until tight.

9. Tension Wire
Insert the ball end tensioner in to the fixing hole of the hub. Holding the tensioner body, use a 5mm spanner on the spanner flat just before the ball end to screw in the thread to tension wire rope.

10. Lock in Place
Once required tension is achieved simply hold the tensioner body and tighten the lock nut in place using a 10mm spanner.

11. Check Wire Tension
Once fully installed, we recommend double checking the wire tension, if needed adjust as required.

Questions & Answers
Reviews


